✕
Automakers have been increasing the number of plastic components used in vehicle assembly for decades, but that trend has been super-charged by the growth in electric vehicles that need to be streamlined to offset the weight of large-format batteries and increased driving range.
Passenger vehicles now contain 10% plastic by weight and 50% by volume, on average, according to trade group America’s Plastic Makers. As more light, durable plastics replace metal components, the auto industry faces a new quality control challenge, as traditional measurement methods often struggle with these newer materials. Enter the vision measurement system, a powerful technology ideally suited to meet the growing complexities of plastic parts in automotive manufacturing.
Traditional methods like coordinate measuring machines (CMMs) and various types of measurement gages and instruments, while accurate, struggle with the complex geometries and delicate nature of modern plastic parts. This is where advanced vision measuring systems come into play. Here are the key advantages of vision systems for automotive manufacturers, as well as some areas in which traditional measurement tools are still preferable.
Addressing high volume with uncompromising precision
Car manufacturing involves high production volumes. Vision measurement systems excel at inspecting large quantities of parts with exceptional accuracy across entire production runs. Unlike CMMs, which require physical contact with the part, vision systems utilize cameras and advanced image processing software to avoid contact. The noncontact approach eliminates the risk of part damage and enables faster measurement cycles, significantly boosting production throughput.
Automation further streamlines the measurement process
Automation is key to streamlining production processes. Vision measurement systems integrate seamlessly with automated lines, minimizing the need for manual part handling. This can reduce human error and improve production efficiency and worker safety.
Vision creates reliability and repeatability in measurement
Automotive manufacturing demands consistent quality control. Vision systems deliver reliable and repeatable measurements, ensuring parts meet strict dimensional tolerances throughout production. As noted, their noncontact nature minimizes wear and tear, leading to increased system uptime. Additionally, the digital capture of measurements ensures consistent and repeatable results automatically.
As automakers evaluate suppliers, they should consider the quality of both the measurement scales and optics incorporated in vision machines. Currently, only a handful of vision system makers provide optics with the exacting level of precision and durability needed to ensure proper quality control in the high-volume measurement of plastic parts, making this a critical factor in evaluating potential partners.
A better solution for complex shapes and surfaces
Vision systems excel at measuring intricate shapes and geometries of modern plastic parts that are challenging using more traditional methods. Their advanced software and edge detection capabilities can manage irregular shapes, tight tolerances and even analyze features invisible to the naked eye with exceptional precision, ensuring that even the most intricate details meet the required specifications.
With the increasing prevalence of plastic components in modern vehicles, traditional measurement methods like coordinate measuring machines (CMMs) are less suitable for some parts due to size limitations or the risk of damaging delicate plastics with contact probes.
For larger parts with irregular geometry that can handle contact, a CMM with a scanning probe can provide accurate measurements, but even in those cases a vision system can sometimes be a faster and less expensive option. With heavier, non-plastic parts, however, a CMM often remains the best measurement tool. An engine block, for example, is greater than the allowable weight of a vision machine. But CMM provides an accurate, cost-effective way to measure the block for the diameter of the cylinders, for example, as the probe head can be articulated and sent down inside to measure the diameter and circularity of the cylinders by touching and dragging along the interior walls.
In addition to the noncontact nature of vision systems protecting parts from damage, their ability to capture intricate details ensures accurate measurement of complex shapes. Vision systems also can be programmed to handle large volumes of parts efficiently, reducing inspection times and keeping production lines moving.
Many automakers and other manufacturers still use profile projectors for the same types of measurement jobs that vision machines excel at. But the move away from profile projectors to vision machines will continue to pick up pace, especially as tolerances grow tighter and parts become smaller. That’s because a profile projector is not as accurate as a vision machine. In addition, profile projectors require manual operation by trained techs, while software in vision systems can automate the entire manual process. And, in the case of manual vision machines, measurements can be handled by operators with minimal training as compared to what’s required to run profile projectors.


Software enhances vision versatility
Increasingly sophisticated software enhances the versatility and effectiveness of vision systems in automotive manufacturing, enabling such features as:
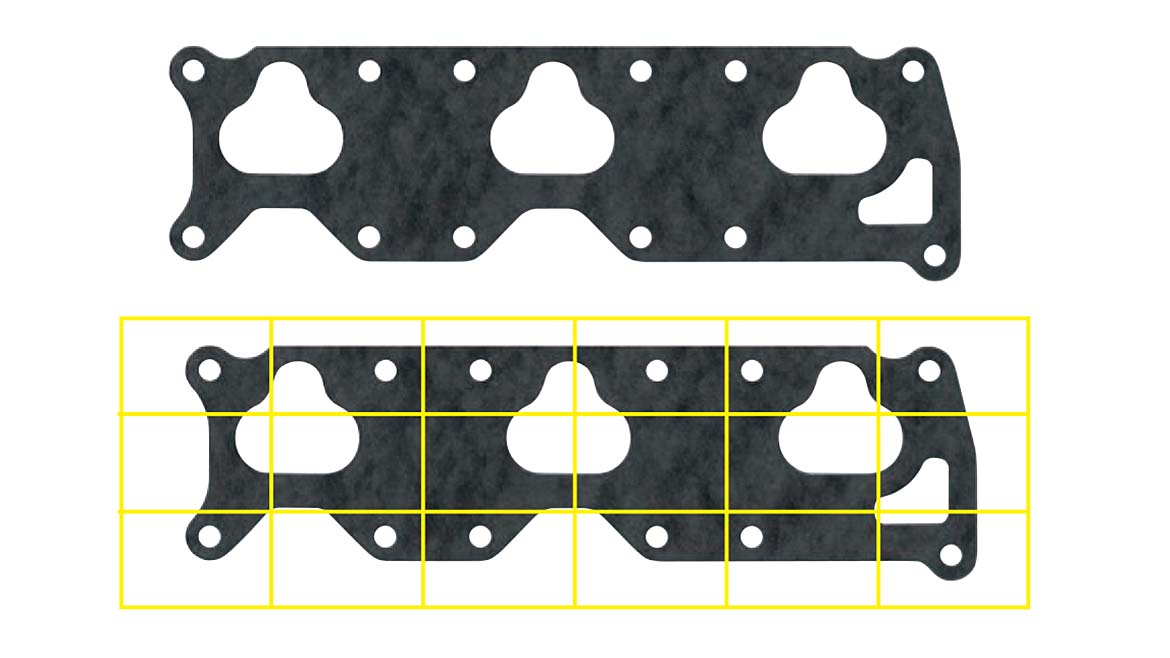
- Stitching: For measuring parts larger than the camera’s field of view, stitching software combines multiple images to create a complete picture for analysis.
- Automated programming: Vision systems can be programmed to automatically identify and measure specific features, reducing operator dependence and ensuring consistency.
- Depth measurement: Certain vision systems can measure depth using advanced techniques like image contrast eliminating the need for additional sensors like touch probes.
- Computer Numerical Control (CNC) integration: This feature can move the camera automatically to measure critical features on larger parts.
Vision benefits extend beyond measurement
Vision systems offer numerous benefits to the automotive industry beyond measurement, such as:
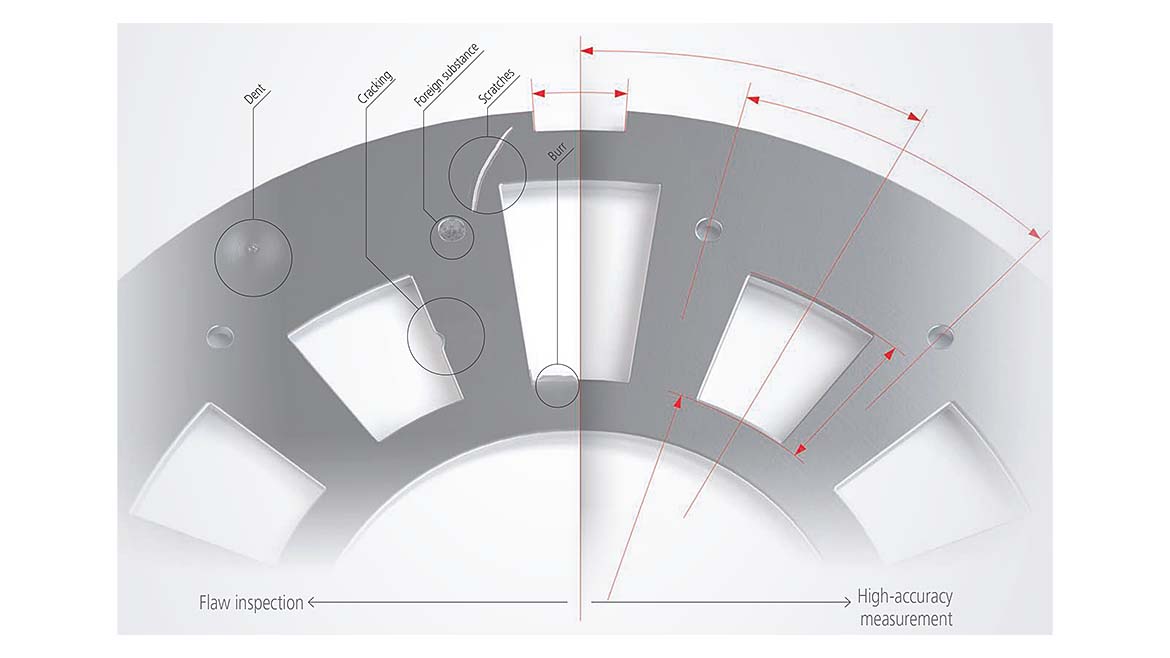
- Improved defect detection: Vision systems can identify a wide range of defects, including surface flaws, color inconsistencies and subtle dimensional deviations.
- Faster inspection speeds: Automated inspection with vision systems significantly reduces inspection times compared to manual methods.
- Reduced labor costs: Automated vision systems minimize reliance on skilled labor, optimizing production efficiency.
- Improved data capture: The systems provide detailed information beyond simple measurements that can be analyzed to create additional production efficiencies.

The future of automotive measurement
As plastic use in auto manufacturing grows, vision measurement systems will play an increasingly vital role. Their ability to manage high volumes, avoid damaging delicate parts, provide consistent quality control and accurately measure complex shapes makes them a perfect fit for the demands of modern production lines. And with ongoing advancements in software and technology, including on the 3D front, vision systems may further revolutionize the way the automotive industry measures and inspects plastic parts, creating additional efficiencies even while increasing quality.
منبع: https://www.qualitymag.com/articles/97981-inside-the-expanding-applications-of-vision-measurement-systems-in-automotive-manufacturing