Once the tubes have been shaped and rolled to the desired dimensions, they go through a series of finishing processes, including cutting, polishing, and heat treatment. These processes help to remove any surface defects or imperfections and ensure that the tubes meet the appropriate standards for surface finish, straightness, and roundness.
- Quality Control
To ensure that stainless steel tubes are free from defects and meet the appropriate quality standards, a rigorous quality control inspection process must be implemented during manufacturing and before shipment when the production is completed. We share our inspection checklist to outline some of the key steps that should be taken during steel tube quality control.
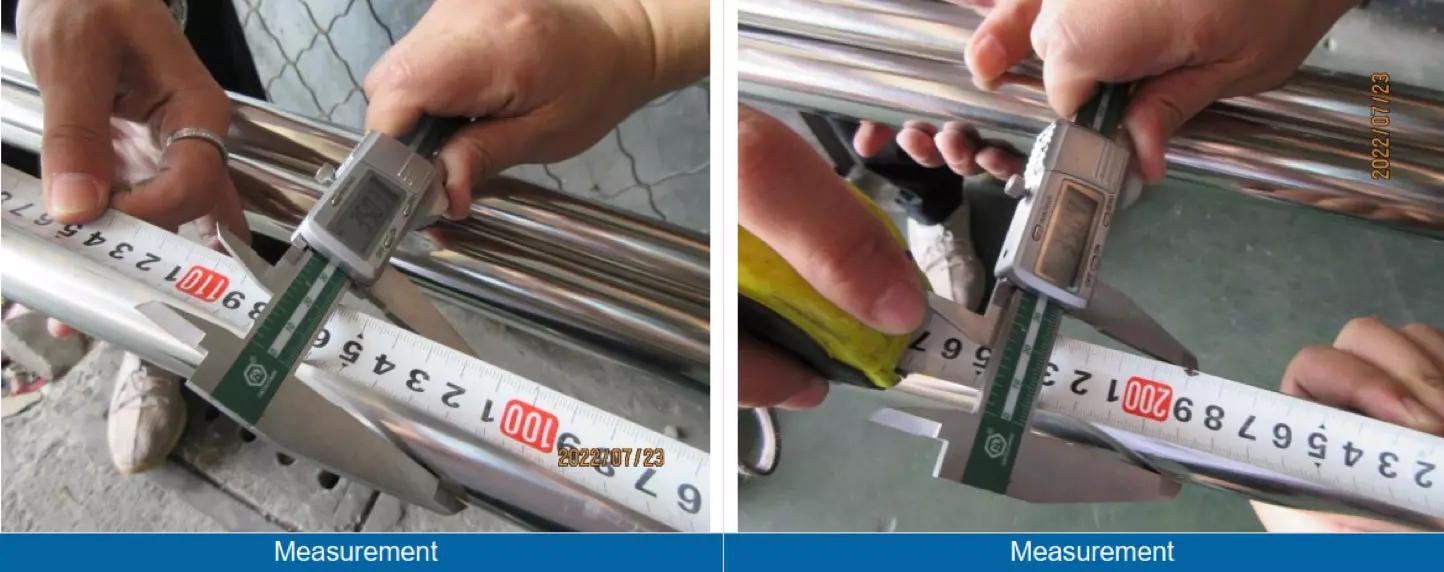
Picture of a thickness check:
Label & marking verifications to conduct:
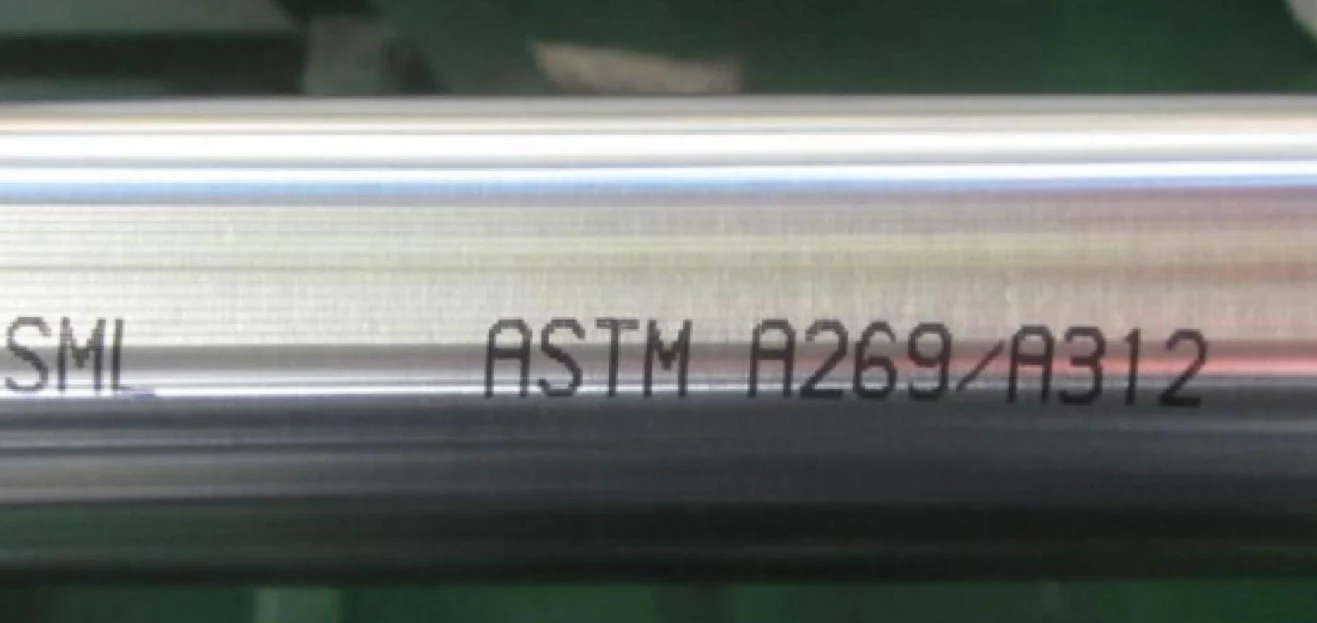
- Each length of tube shall be legibly stenciled with the manufacturer’s name or brand, the specification number, industry standards and grade.
- The tubes must have the markings prescribed in the product specifications
To understand how to control the quality of steel tubes, we should first understand how they are manufactured.
- PRODUCT LOGO, LABELING & MARKINGS
Outer diameter: must meet the required specifications and tolerances.
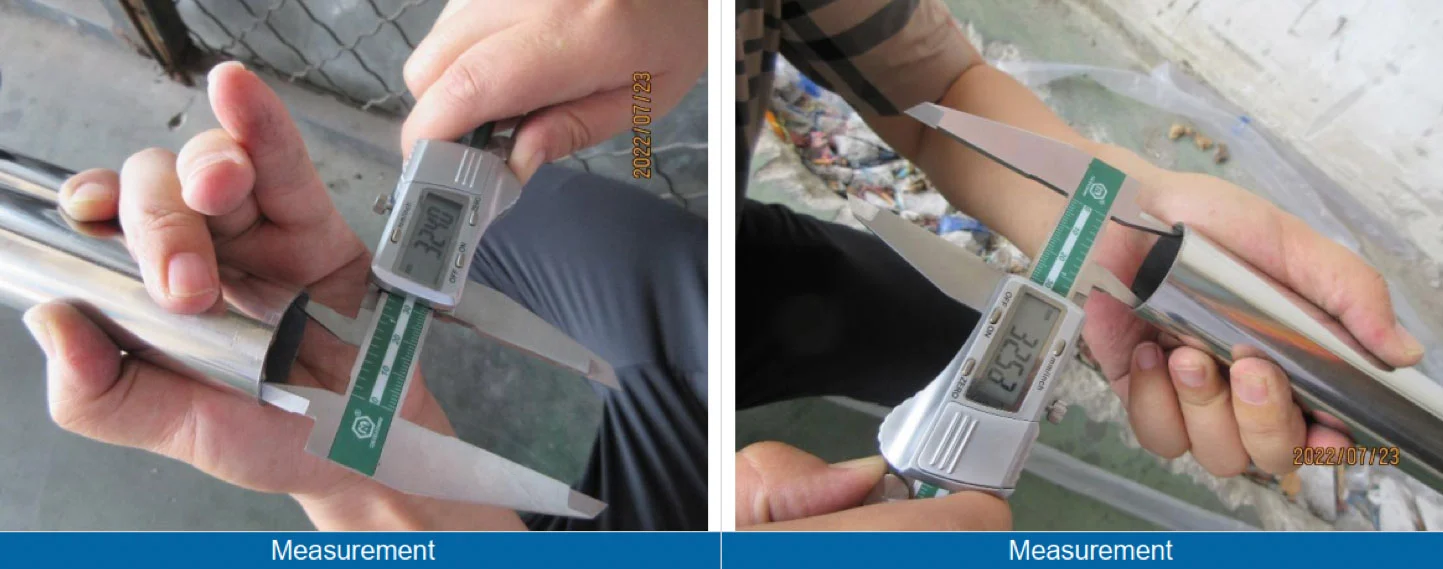
Inner diameter: must meet the required specifications and tolerances.
Thickness: verify that the tube’s strength and durability meet the required standards.
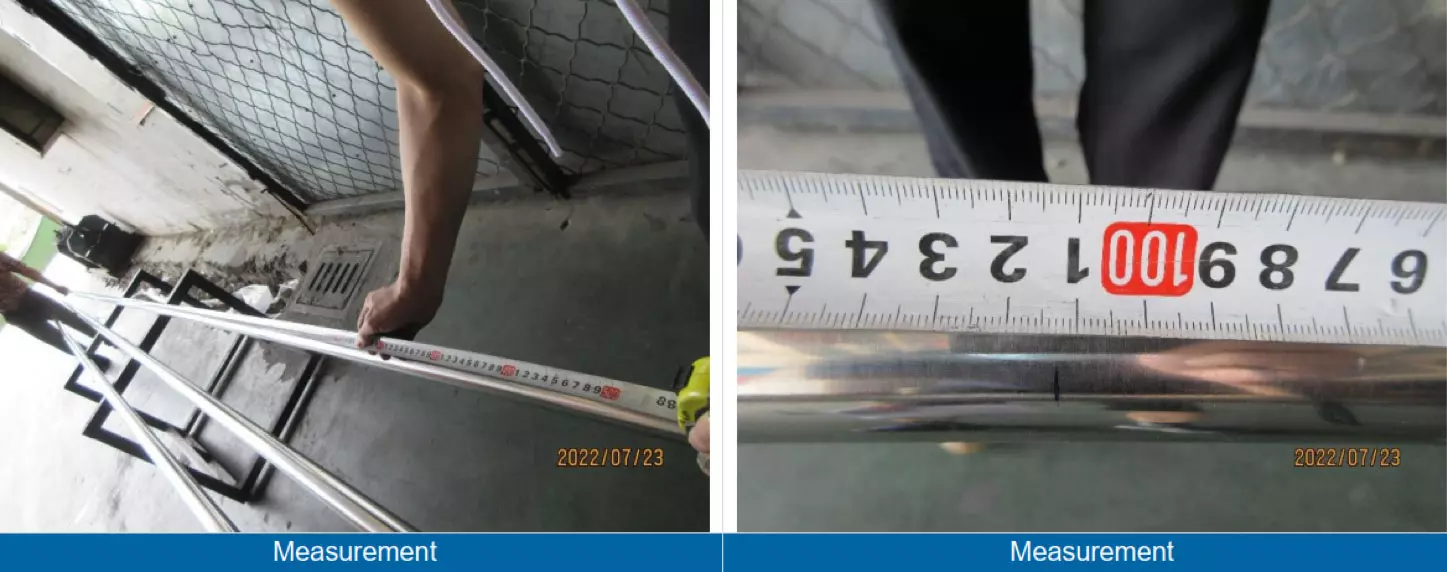
Length: the length should be correct and within the specified tolerance range.
Straightness: must be within the specified tolerances and does not have any significant deviations or bends.
Ovality: this measurement checks whether the tube is round or not (should be round).
The initial stage of inspecting steel tubes involves verifying the number of tubes produced and comparing it to the order quantity to identify any discrepancies. This step is crucial in ensuring that the factory manufactured the right quantity and respected the client’s order specifications.
It establishes the standards for stainless steel pipe dimensions and sizes, including tolerances and material requirements.
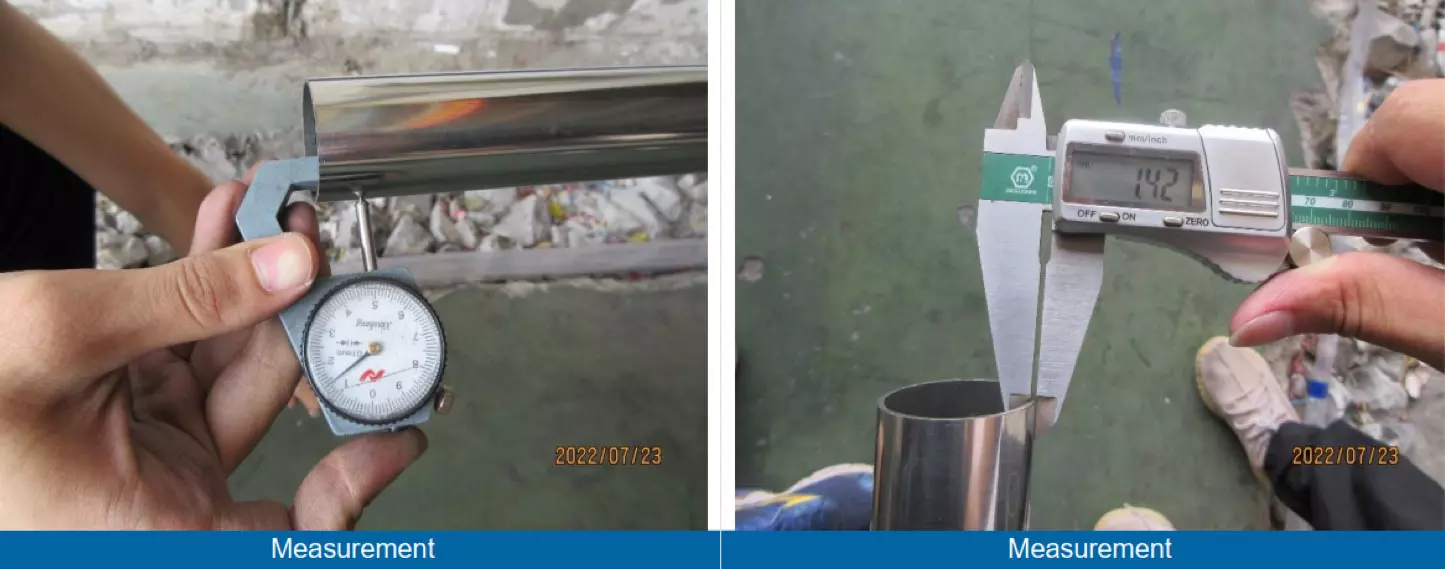
Picture of an inner diameter check:

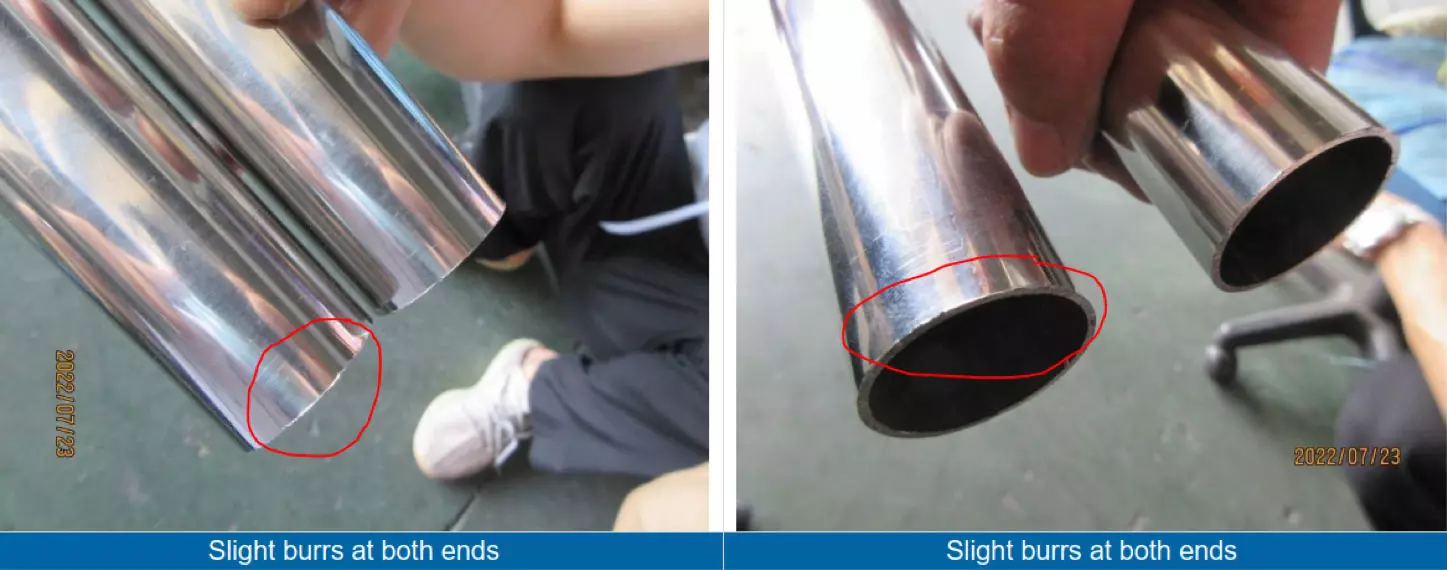
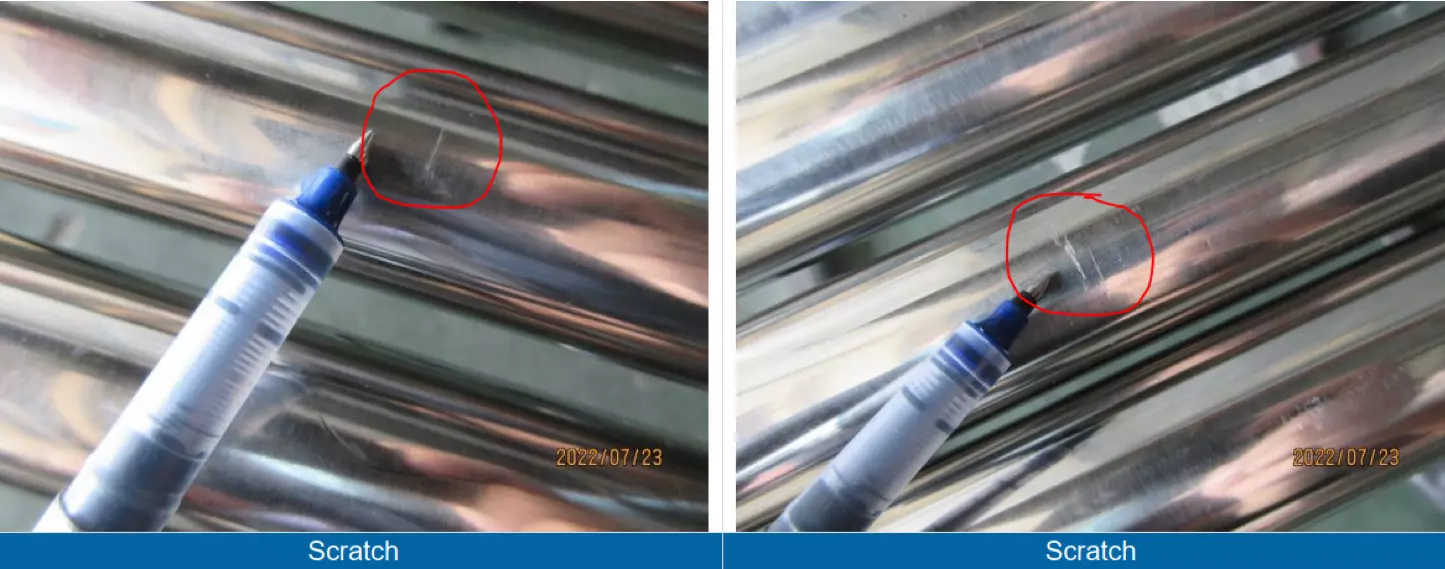
Examples of visual defects:
Stainless steel tubes are widely used in a variety of industrial applications, including chemical processing, petrochemicals, food and beverage production, and pharmaceuticals.
This checklist corresponds to a Pre-Shipment Inspection (PSI) that covers quality, quantity, and documentation checks before shipping. By statistically examining a representative sample, the inspection identifies defects and ensures compliance with standards, reducing the risk of customs issues, delays, and faulty products reaching the customer.
Stainless Steel Tube Pre-Shipment Inspection Checklist
- QUANTITY
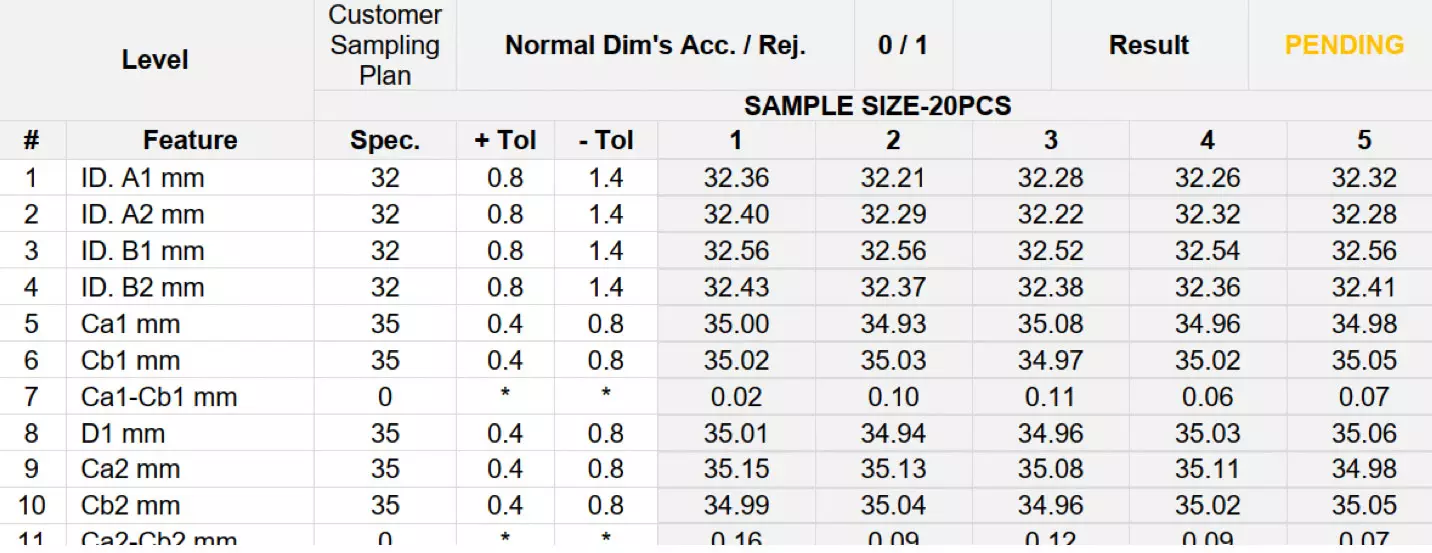
Inspecting the measurements of stainless steel tubes is critical as it ensures that the tubes meet the required specifications and dimensions. Any deviation from the specified measurements can compromise the structural integrity of the tube and may result in failure or malfunction of the final product in which the tube is used. The measurements should be taken at multiple points to ensure consistency.
The defects to look for in a steel tube visual check:
- Appearance defects such as burr, scratch, shock, deformation, etc.
In conclusion, the inspection of stainless steel tubes is an essential process to ensure the quality, safety, and performance of the final product. With a comprehensive checklist covering quantity, packaging, labeling, measurements, material certification, workmanship, and mechanical tests, companies can effectively minimize the risk of defects and non-compliance. By adhering to relevant industry standards such as ASTM and ASME guidelines and implementing rigorous quality control measures throughout the manufacturing process, businesses can guarantee the reliability and durability of their products.
About Us
It covers seamless, welded, and heavily cold-worked austenitic stainless-steel pipes, specifying their dimensions, tolerances, and mechanical properties.
Introduction – Stainless Steel Tubes Inspections
Picture of an outer diameter check:
Standards like ASTM 269-02, ASTM 1016A-1016M-02A, ASME B36.19M-2004, and ASTM A 312-A 312M-08A are commonly used in the production and evaluation of stainless steel tubes.
The material’s excellent corrosion resistance, high strength, and durability make it a popular choice for many different applications. However, to ensure the highest level of performance and safety, stainless steel tubes must undergo rigorous quality control inspections during manufacturing.
This table shows that the supplier manufactured 4 units more than the buyer’s order.
- PACKAGE & PACKAGING
At Pro QC, we conduct hundreds of steel tube inspections annually worldwide. Based on our extensive experience, we have compiled a list of the most common defects that may arise during a quality control inspection of stainless steel tubes. These include:
- Surface defects: These include scratches, pits, and other imperfections on the surface of the tube. Surface defects can be caused by improper handling or processing of the material, or by defects in the manufacturing equipment.
- Weld defects: Stainless steel tubes are often welded together to create longer lengths or to connect different sections of the tubing. Weld defects can include cracks, porosity, and incomplete penetration, which can weaken the overall strength of the tube.
- Dimensional defects: These include variations in the diameter, thickness, or length of the tube. Dimensional defects can be caused by variations in the manufacturing process, or by issues with the equipment used to produce the tubes.
- Material defects: These include impurities, inclusions, or other defects in the material itself. Material defects can weaken the strength and corrosion resistance of the tube and can make it more prone to failure over time.
Verification to perform:
- Material test certificates, including the chemical composition and mechanical properties, must comply with the product specifications.
- PRODUCT WORKMANSHIP
Throughout the manufacturing process, the tubes are carefully inspected to ensure they meet the appropriate quality control standards. This involves a combination of visual inspection, dimensional inspections, hardness tests, non-destructive testing, and physical testing to ensure that the tubes are free from defects and meet the required specifications for mechanical strength, corrosion resistance, and other important properties.
Relevant Industry Standards – ASTM & ASME
Stainless steel tube manufacturing is a global industry, with major production centers in Asia (primarily China, Japan, and South Korea), Europe (primarily Germany and Italy), and the United States.
- Raw Material Selection and Molding
- MEASUREMENT
Elements to verify during a packaging visual check:
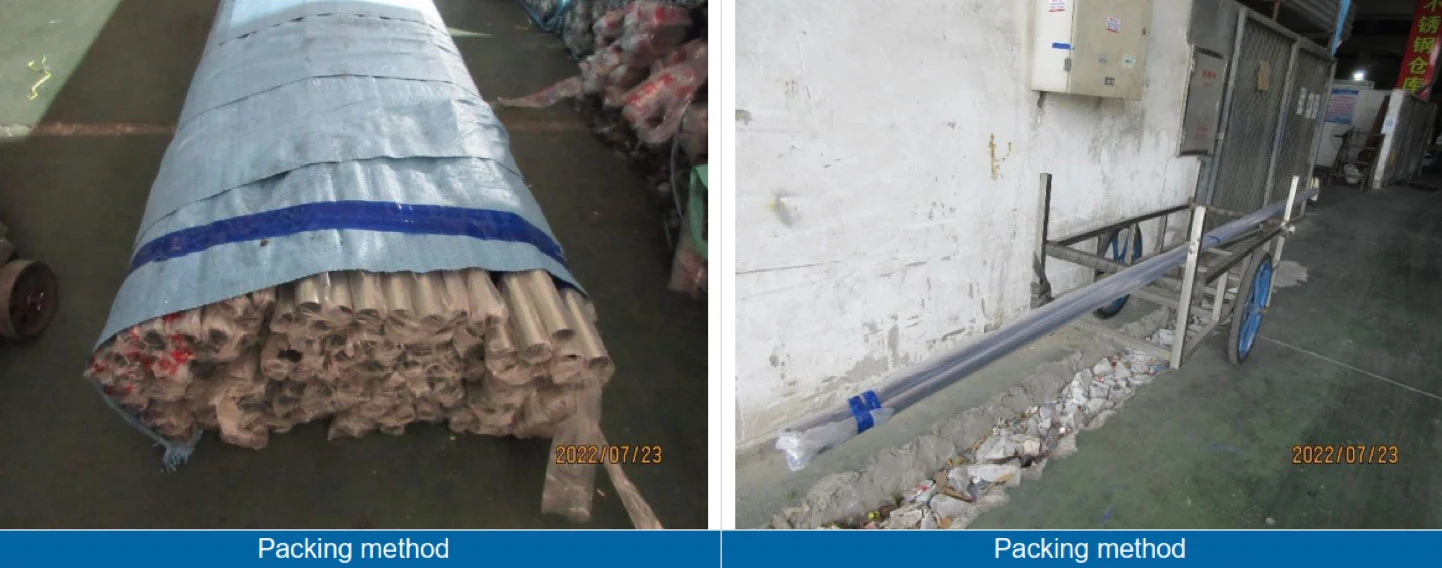
- Packing method and conditions
- Retail package artworks
- Correct content within the package
- Quantity of items & accessories within the package
- Presence of the correct version of printed literature within the package
The following tests are commonly performed on tubes to evaluate their mechanical properties:
- Flaring Test (For Seamless Tube): assesses the ductility and resistance to deformation of a seamless tube by expanding one end of the tube to a specified diameter.
- Flange Test (For Welded Tube): evaluates the strength and resistance to deformation of the welded joint of a tube by applying pressure to the flange of the tube until it fails.
- Hardness Test: measures the material’s resistance to indentation and assesses its mechanical properties, such as strength and durability.
- Reverse Flattening Test (For Welded Tubes): evaluates the ductility and resistance to deformation of a welded joint by flattening the tube from both sides until the opposite walls meet.
- Reverse Bend Test: evaluates the ductility and resistance to fatigue of a tube by bending a sample of the tube back and forth until it breaks.
- Hydrostatic or Non-Destructive Electric Test: detects defects or discontinuities that may affect the tube’s performance by subjecting it to pressure or electrical current.
- Tensile Properties: evaluates the strength and elasticity of the tube by measuring the maximum load the material can withstand before it breaks.
- Grain Size: evaluates the mechanical properties of the material, such as strength and ductility, by measuring the size and distribution of the grains in the material.
Markings and information are stenciled onto the manufactured tubes, providing essential details for tracking, and ensuring transparency throughout the supply chain. This information is also frequently required by the purchasing company to verify the quality and specifications of the tubes. Therefore, the inspection must include the verification of the markings and information to ensure they are legible, accurate, and meet the required standards
Pro QC is a trusted global quality control company that has been supporting steel tube buyers since 1984. Our extensive global coverage enables us to provide services tailored to meet our client’s needs. In addition to inspection services, we offer a comprehensive range of supplier audits and supplier management services to help companies reduce their defect rates, improve compliance with industry standards, and achieve manufacturing excellence in terms of quality. Contact us at [email protected]
